Purpose: Purpose of this document is to enlist the problems and their resolution of common problems faced by different users related to Data Migration Framework and Excel Add-In for Microsoft Dynamics AX 2012.
Note: Microsoft has launched new enhanced framework named "Microsoft Dynamics AX 2012 Data Import/Export Framework" as replacement of Data Migration Framework. Please check details at Technet.
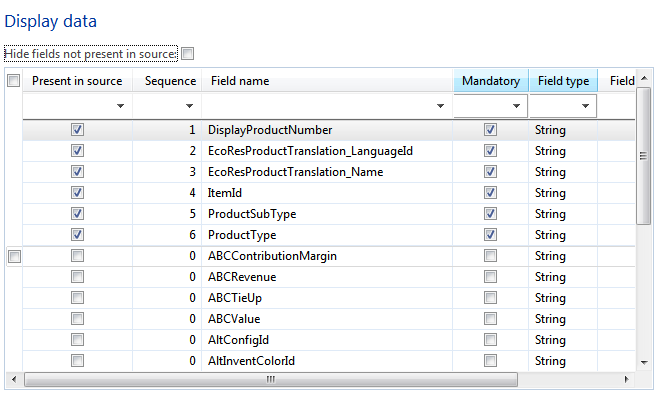
1. SEARCHNAME
2. NAMEALIAS
Note: If values are changed only in SearchName field and not in Namealias then Search Name won't be changed in items list, so always change values in both columns and import data again in system, don't use staging to target operation but the complete process of Get staging data and Copy Data to Target needs to be run to take changes place.


Problem: How to Update/Change Search Name after upload of Items Master Data
Resolution: To
change/update search name once data is inserted using DMF, you need to import
following two fields in your CSV file and run the import process again.
Below are field names:
2. NAMEALIAS
Note: If values are changed only in SearchName field and not in Namealias then Search Name won't be changed in items list, so always change values in both columns and import data again in system, don't use staging to target operation but the complete process of Get staging data and Copy Data to Target needs to be run to take changes place.
Problem: How to see error log in Data Migration Framework (DMF)
Resolution: Error: For additional warnings or errors, please check the log
To identify the above error,
click on Log Button for more details, system will display details in an
error text box, see below screenshot:

Click on Log button and another screen will open with error detail, see below screenshot:
Problem: Joins between the Staging and Target tables do not get created
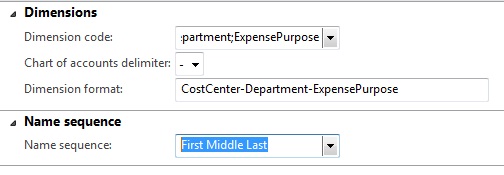
Resolution: Open Processing Groups Screen, select the Processing group->Open the Target Entities and change to Details View, you can
simply press the "Generate"-button over the grid to regenerate the
mappings. The toolbar is only enabled/visible from the details view.
Refer to following Dynamics community discussion for full problem & its resolution
https://community.dynamics.com/product/ax/f/33/t/96289.aspx
Install-AXModel -File "C:\Program Files\Microsoft Dynamics AX 2012 Data Migration Framework Client Components(Beta)\DataMigrationFramework.axmodel" -Conflict Push
For distributed environment e.g. if SSIS is on different computer and AOS is on different computer then /db switch is required to be executed with Install-AXModel Command below is syntax with AXUtill. To execute axutil import command go to the ManagementUtilities directory and use the command, below is full illustration of command.
Default directory for ManagementUtility C:\Program Files\Microsoft Dynamics AX\60\ManagementUtilities>
axutil import /file:"C:\Program Files\Microsoft Dynamics AX 2012 Data Migration Framework Client C
omponents (Beta)\DataMigrationFramework.axmodel" -conflict:push /db:ax2012 /s:axserver
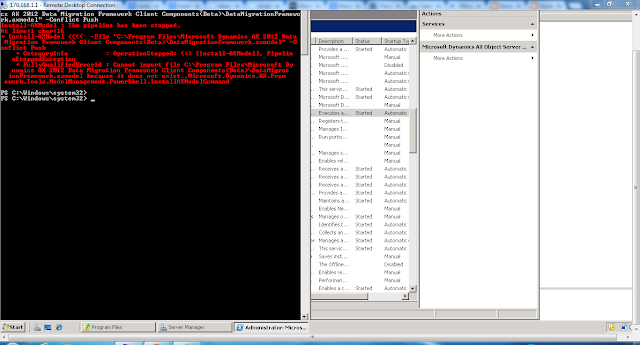
Resolution: This error occurs if you try to use Data Migration Framework on a computer on which DMF is not installed. Try using on a system have proper installation of DMF, system will work properly.
________________________________________________________________________________
Data Migration Framework: Beta Version
Document Version: 1.0
email: mansoor_adeel@yahoo.com
mansoor_adeel@hotmail.com
skype: mansoor_adeel
Error: Install-AXModel : The pipeline has been stopped. At line:1 char:16 + Install-AXModel <<<< -File "C:\Program Files\Microsoft Dynamics AX 2012 Data Migration Framework Client Components (Beta)\DataMigrationFramework.axmodel" + CategoryInfo : OperationStopped: (:) [Install-AXModel], Pipelin eStoppedException + FullyQualifiedErrorId : One or more conflicting model elements already e xists in an installed model.,Microsoft.Dynamics.AX.Framework.Tools.ModelManagement.Pow erShell.InstallAXModelCommand
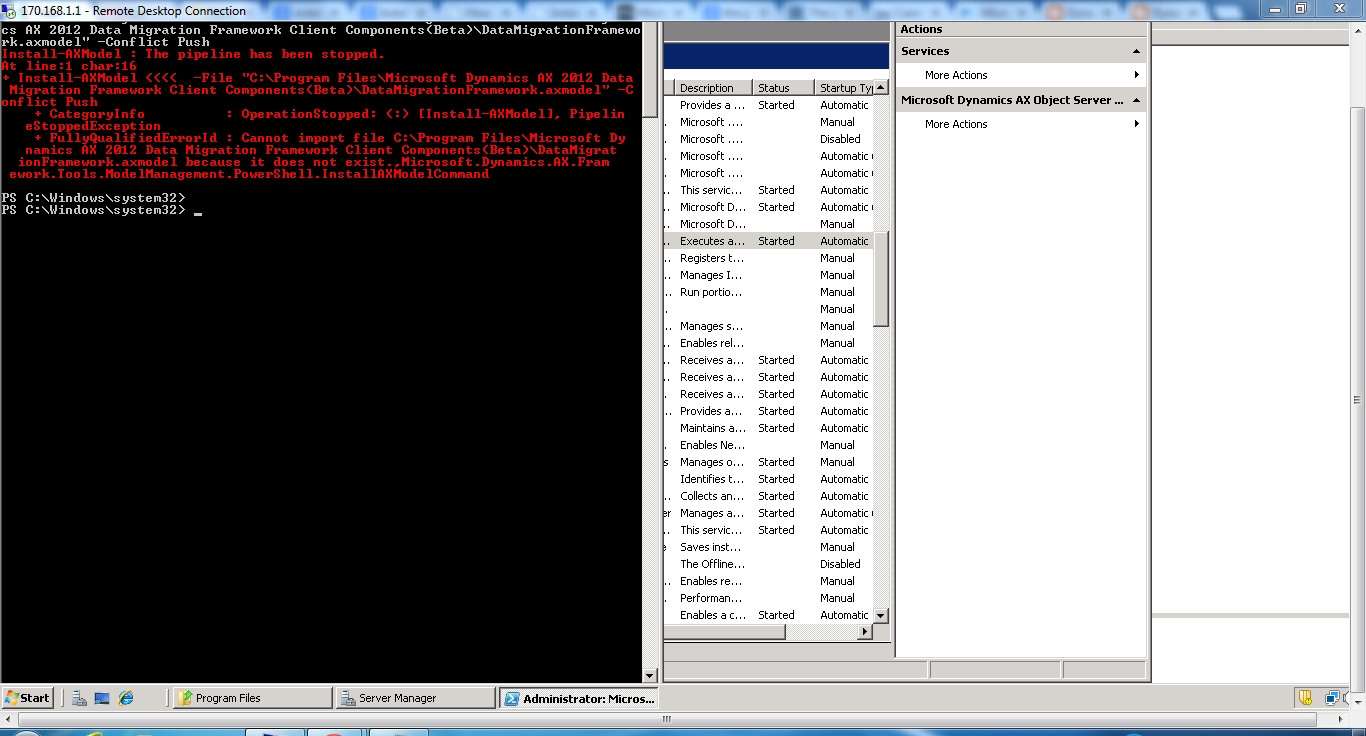
Resolution: This problem comes because of conflict in model import, refer to TechNet topic How to: Export and Import a Model [AX 2012] or use the -Conflict Push option at the end of the command to import model file.
Below is full command in case of above error to import model file:
For distributed environment e.g. if SSIS is on different computer and AOS is on different computer then /db switch is required to be executed with Install-AXModel Command below is syntax with AXUtill. To execute axutil import command go to the ManagementUtilities directory and use the command, below is full illustration of command.
Default directory for ManagementUtility C:\Program Files\Microsoft Dynamics AX\60\ManagementUtilities>
axutil import /file:"C:\Program Files\Microsoft Dynamics AX 2012 Data Migration Framework Client C
omponents (Beta)\DataMigrationFramework.axmodel" -conflict:push /db:ax2012 /s:axserver
Error: Error executing code: DMFParameters (table) has no valid runable code in method 'validateSharedFolderPath'.
Stack trace
(C)\Data Dictionary\Tables\DMFParameters\Methods\validateSharedFolderPath
(C)\Forms\DMFParameters\Designs\DesignList\ValidateSharedFolderPath\Methods\Clicked - line 11
(C)\Data Dictionary\Tables\DMFParameters\Methods\validateSharedFolderPath
(C)\Forms\DMFParameters\Designs\DesignList\ValidateSharedFolderPath\Methods\Clicked - line 11
Resolution: This error occurs if you try to use Data Migration Framework on a computer on which DMF is not installed. Try using on a system have proper installation of DMF, system will work properly.
________________________________________________________________________________
Data Migration Framework: Beta Version
Document Version: 1.0
email: mansoor_adeel@yahoo.com
mansoor_adeel@hotmail.com
skype: mansoor_adeel


